Custom Modules: Speed Up your Development on Latenode!
Step-by-step instruction on how to create your own nodules and use them in any further scenario you'll build.

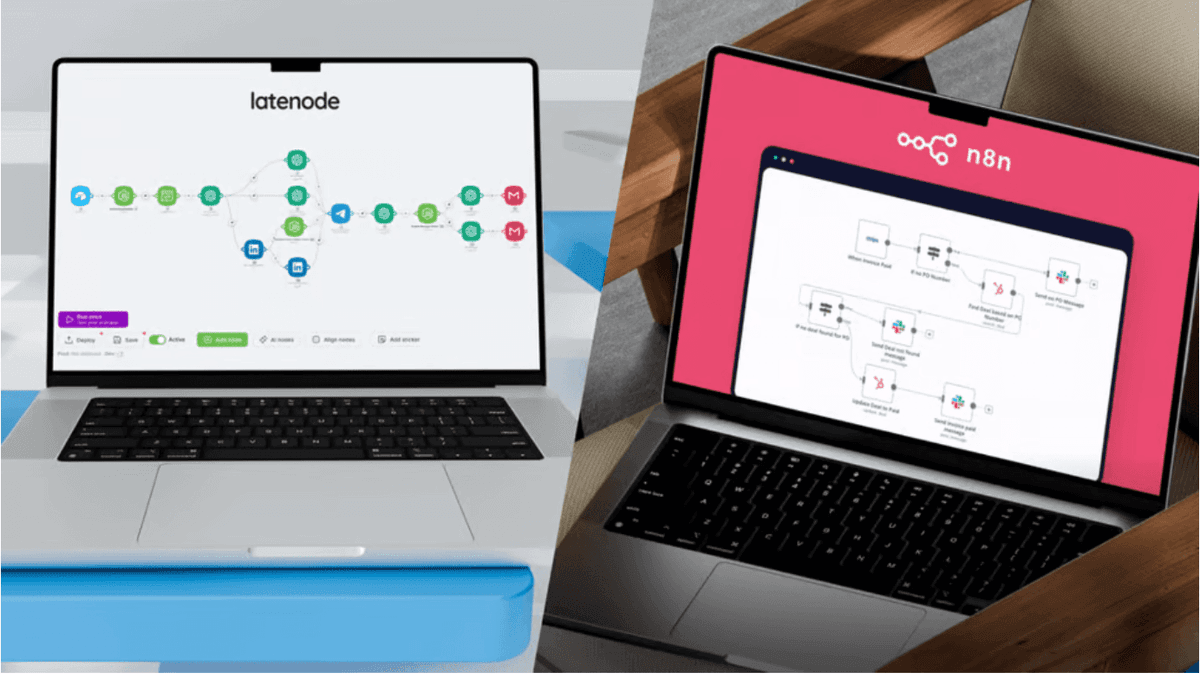
In the French language, there's a term - "mise en place," which means "everything in its place." This term is used in cooking to refer to the setup and organization of all ingredients and tools before beginning a dish. Chefs cut vegetables, measure spices, and set up kitchen tools so they're within easy reach during cooking. They're masters of organization! With this in mind, let me show you how the low-code platform Latenode brings the principle of "mise en place" to your business process automation.
Hello everyone! I'm Oleg, and I'll guide you through the creation of a custom node that can be seamlessly integrated into any platform scenario.
1. Scenario Creation
As an example, consider a basic scenario that shows the message “Hello, world!” using the line return {"response": "Hello, world!"} in a JavaScript cube when your Webhook trigger is activated. While such a component might not be the main star in a recipe, our emphasis is on understanding the steps of creation.
You can create this scenario with Latenode

2. Replacing the Input and Output Node
Once your scenario is set to be converted into a custom nodule, make these changes to the input and output nodes:
- Replace Webhook with – Nodul Input
- Replace Webhook Response for – Nodul Output. Here, ensure that you display the relevant data in the Result field, similar to the Webhook Response setup.

3. Naming the Scenario
It's crucial to assign a meaningful name to your scenario for accurate cube classification. In the library of ready-to-use integrations, there are names of apps or tool groups, which house the actual Actions or Triggers. For instance, if you're designing a custom trigger for integration with Airtable, the name should be: Airtable/Trigger/NewTrigger. But, you can also introduce new categories, like 'AI Tools.'

4. Transforming into a Nodule
Next, change your scenario type from a direct scenario to a nodule. Ensure you save and deploy the new cube with its configurations. And there you have it! Your newly crafted cube is all set to become an essential asset in future projects, fast-tracking the development of an integrated business process framework for you and your clients.


After you do this, you'll see the new module in the list with other apps:

5. Customization
Additionally, you can also customize these new tools by assigning a color and selecting an icon in SVG format. To do this, choose an icon from platforms like iconfinder.com and modify the XML code with desired features using ChatGPT. For example,I managed to find the robot I wanted and added a heart smile, bringing a touch of warmth to this otherwise moody machine

Check the full documentation here
You can create your own nodes with Latenode here
Conclusion
You now understand how to design distinct tools customized to your specifications. This ensures you always have them on hand when addressing similar challenges during the development of advanced solutions. With the option of a JavaScript module that can incorporate any of the over 1.3 million available NPM packages, this kind of setup becomes invaluable for those passionate about automation, much like us.
Mise en place, colleagues! Stay in touch, and anticipate our upcoming content. We'll explore how to generate revenue from your scenarios through the RapidAPI platform. Down the road, the ability to create nodules will prove useful as our platform unveils a public repository showcasing your expert solutions.
Join our Discord community, a hub for low-code enthusiasts! Here, we'll help with all questions about Latenode and its automation capabilities.