

Remember when personalizing emails meant hours of copying, pasting, and tweaking? Those days are over. With ChatGPT's help, you can now create unique welcome emails for every single subscriber - automatically. This guide shows you how to connect MailChimp, ChatGPT, and Gmail using Latenode to send personalized welcome emails that feel personal.
And if you're not using MailChimp? No worries - you can easily adapt this setup for your favorite email platform. Latenode makes this whole process super simple, handling all the technical stuff so you can focus on growing your subscriber base. Plus, we've got a ready-made template waiting for you that you can customize in minutes.
Let's make sure you've got everything ready:

Your automation flows through four simple steps:
Now let's connect everything:
(1) Connect Your MailChimp Account
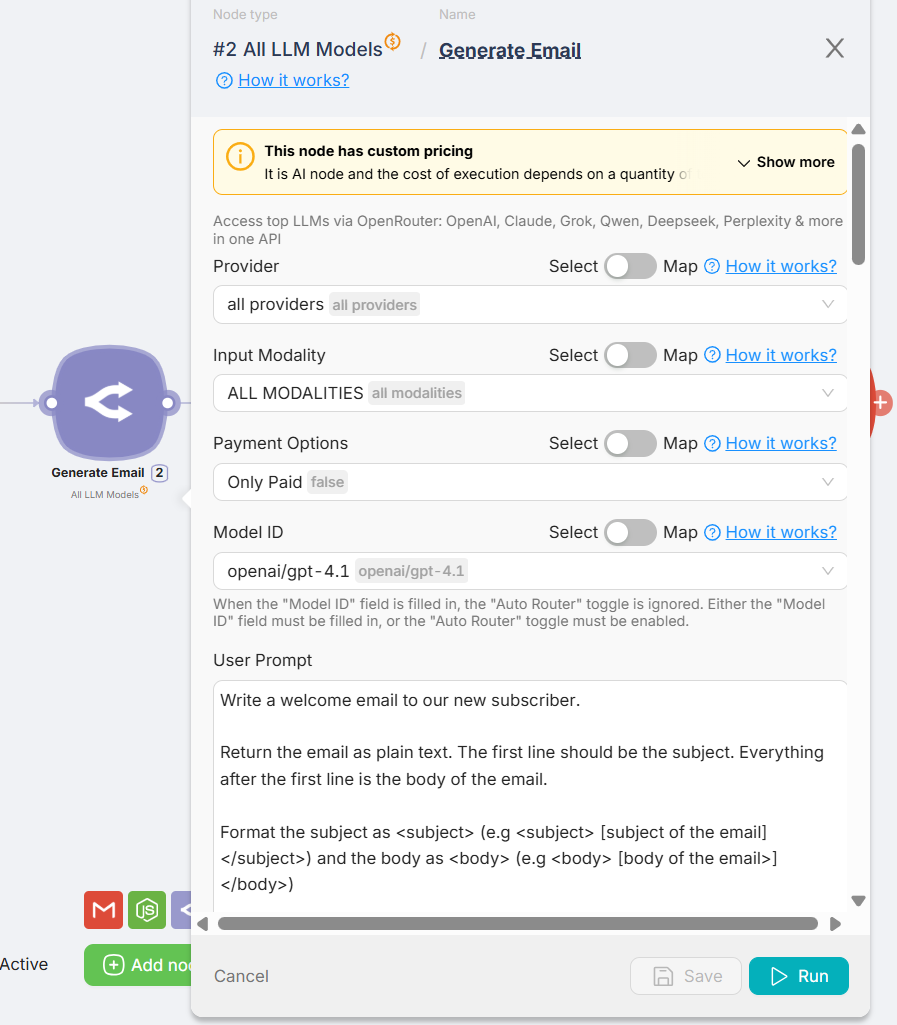
(2) Tell ChatGPT What to Write

The sample prompt looks like this:
“Write a welcome email to our new subscriber.
Return the email as plain text. The first line should be the subject. Everything after the first line is the body of the email.
Format the subject as <subject> (e.g <subject> [subject of the email] </subject>) and the body as <body> (e.g <body> [body of the email] </body>)
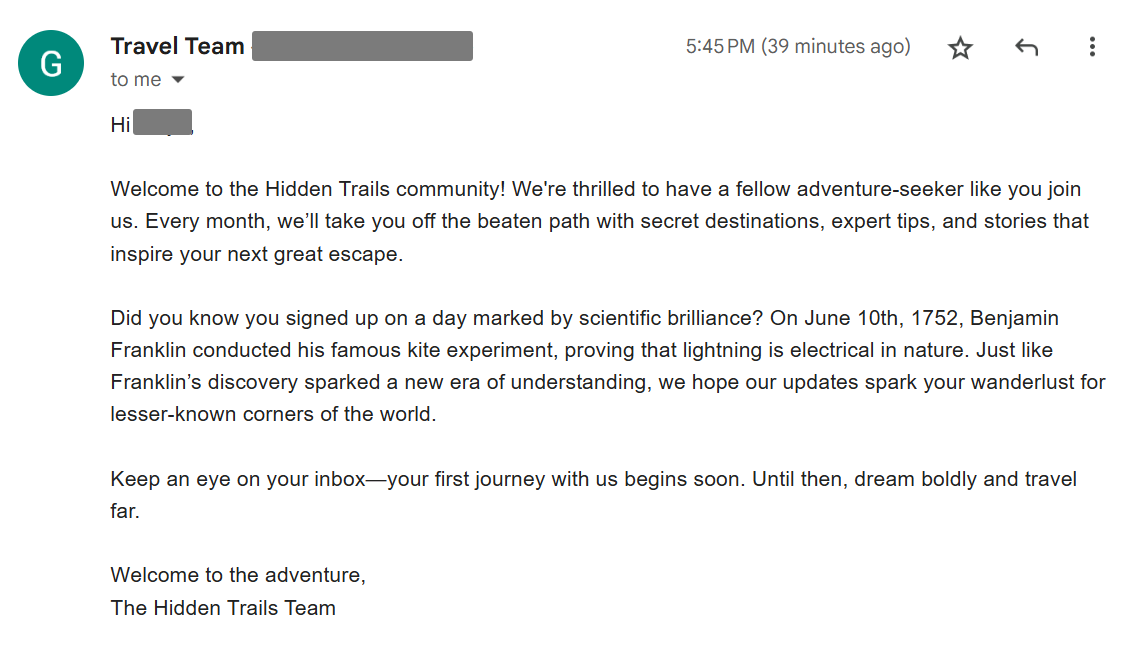
Personalize the email using details from the person object above. Include an interesting scientific discovery or invention that occurred on the same calendar day as their registration (be accurate and relevant).
Context about our business (the senders of the email):
We are a team of travel enthusiasts, and the user has joined our monthly update about hidden destinations and adventure tips.”
(3) Let the Script Do Its Magic
(4) Connect Gmail for Delivery

This automation does more than save you time - it makes every subscriber feel like you wrote their email just for them. No more generic "Welcome!" messages that everyone ignores. Test everything thoroughly before going live, and once it's running, you can sit back and watch your engagement rates climb.
Want to take it further? Try creating different welcome sequences for different subscriber segments, or add follow-up emails to keep the conversation going. The possibilities are endless!


